
I don’t post that often on my website because I didn’t have anything to write. But recently, I picked up Stable Diffusion to generate some images for the fun. I started with okay stuff and learn a lot about the prompts I can use to have almost perfect results.
Let’s check results I got with Stable Diffusion after I learned a lot about it :
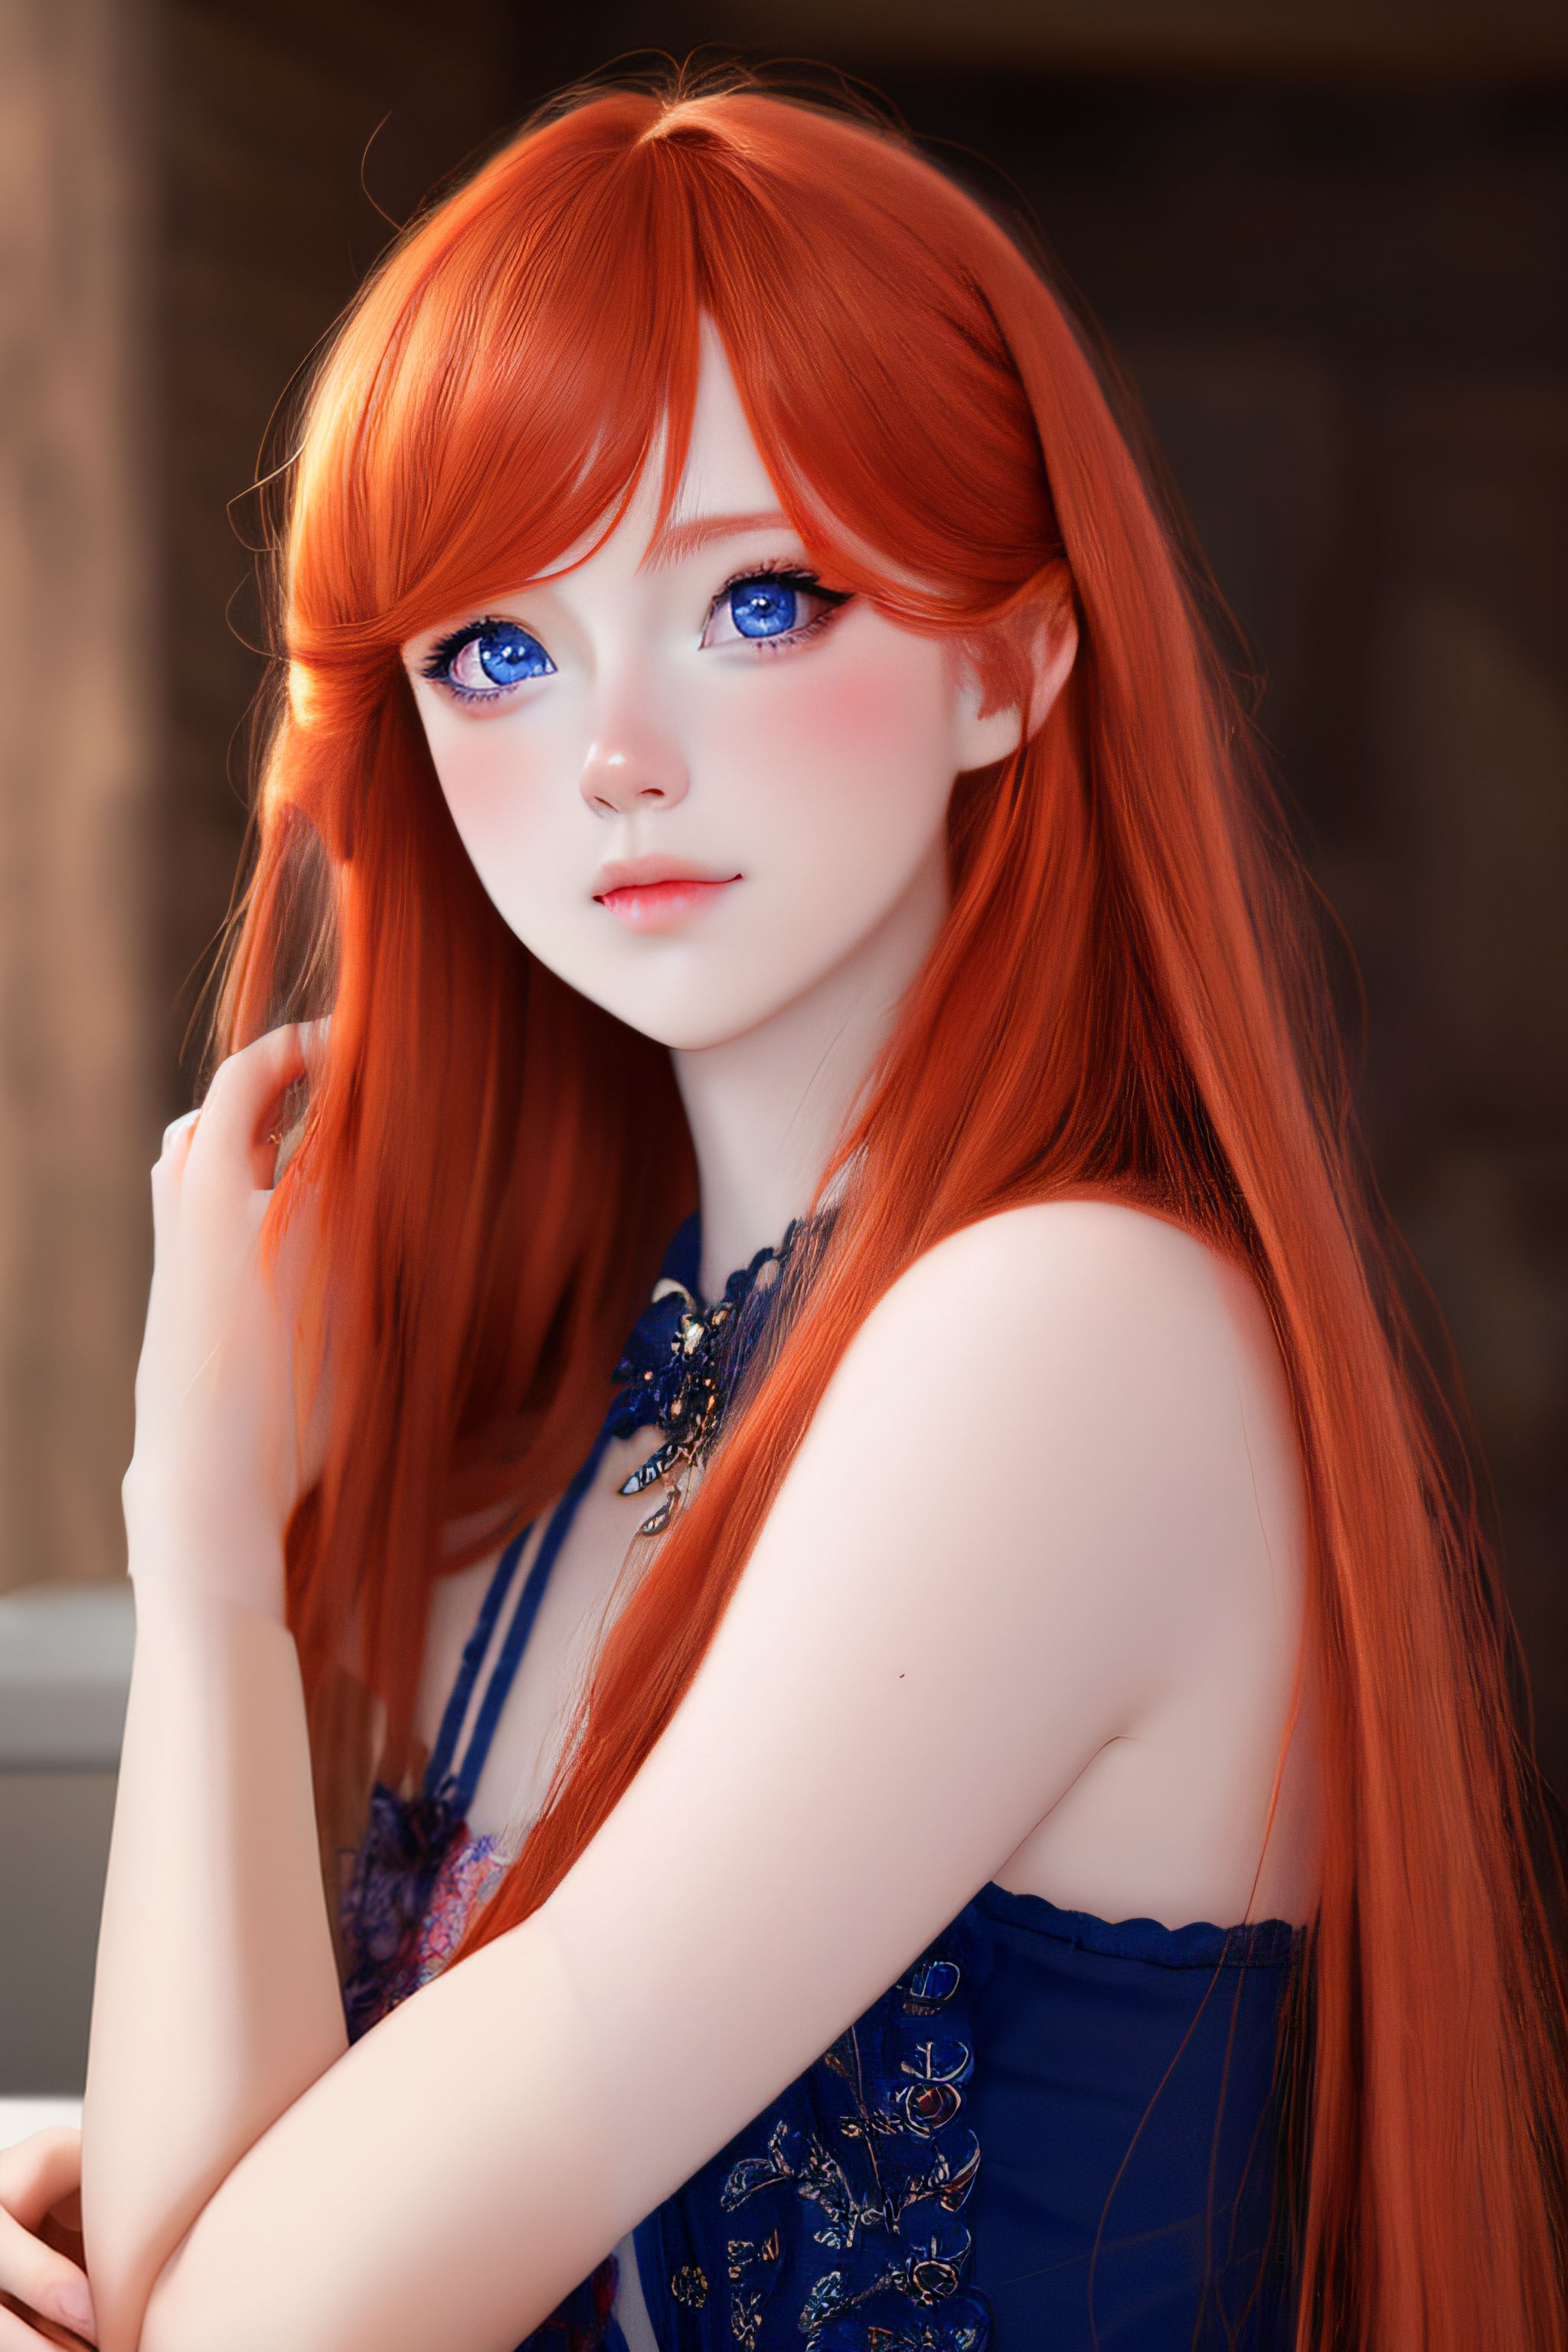
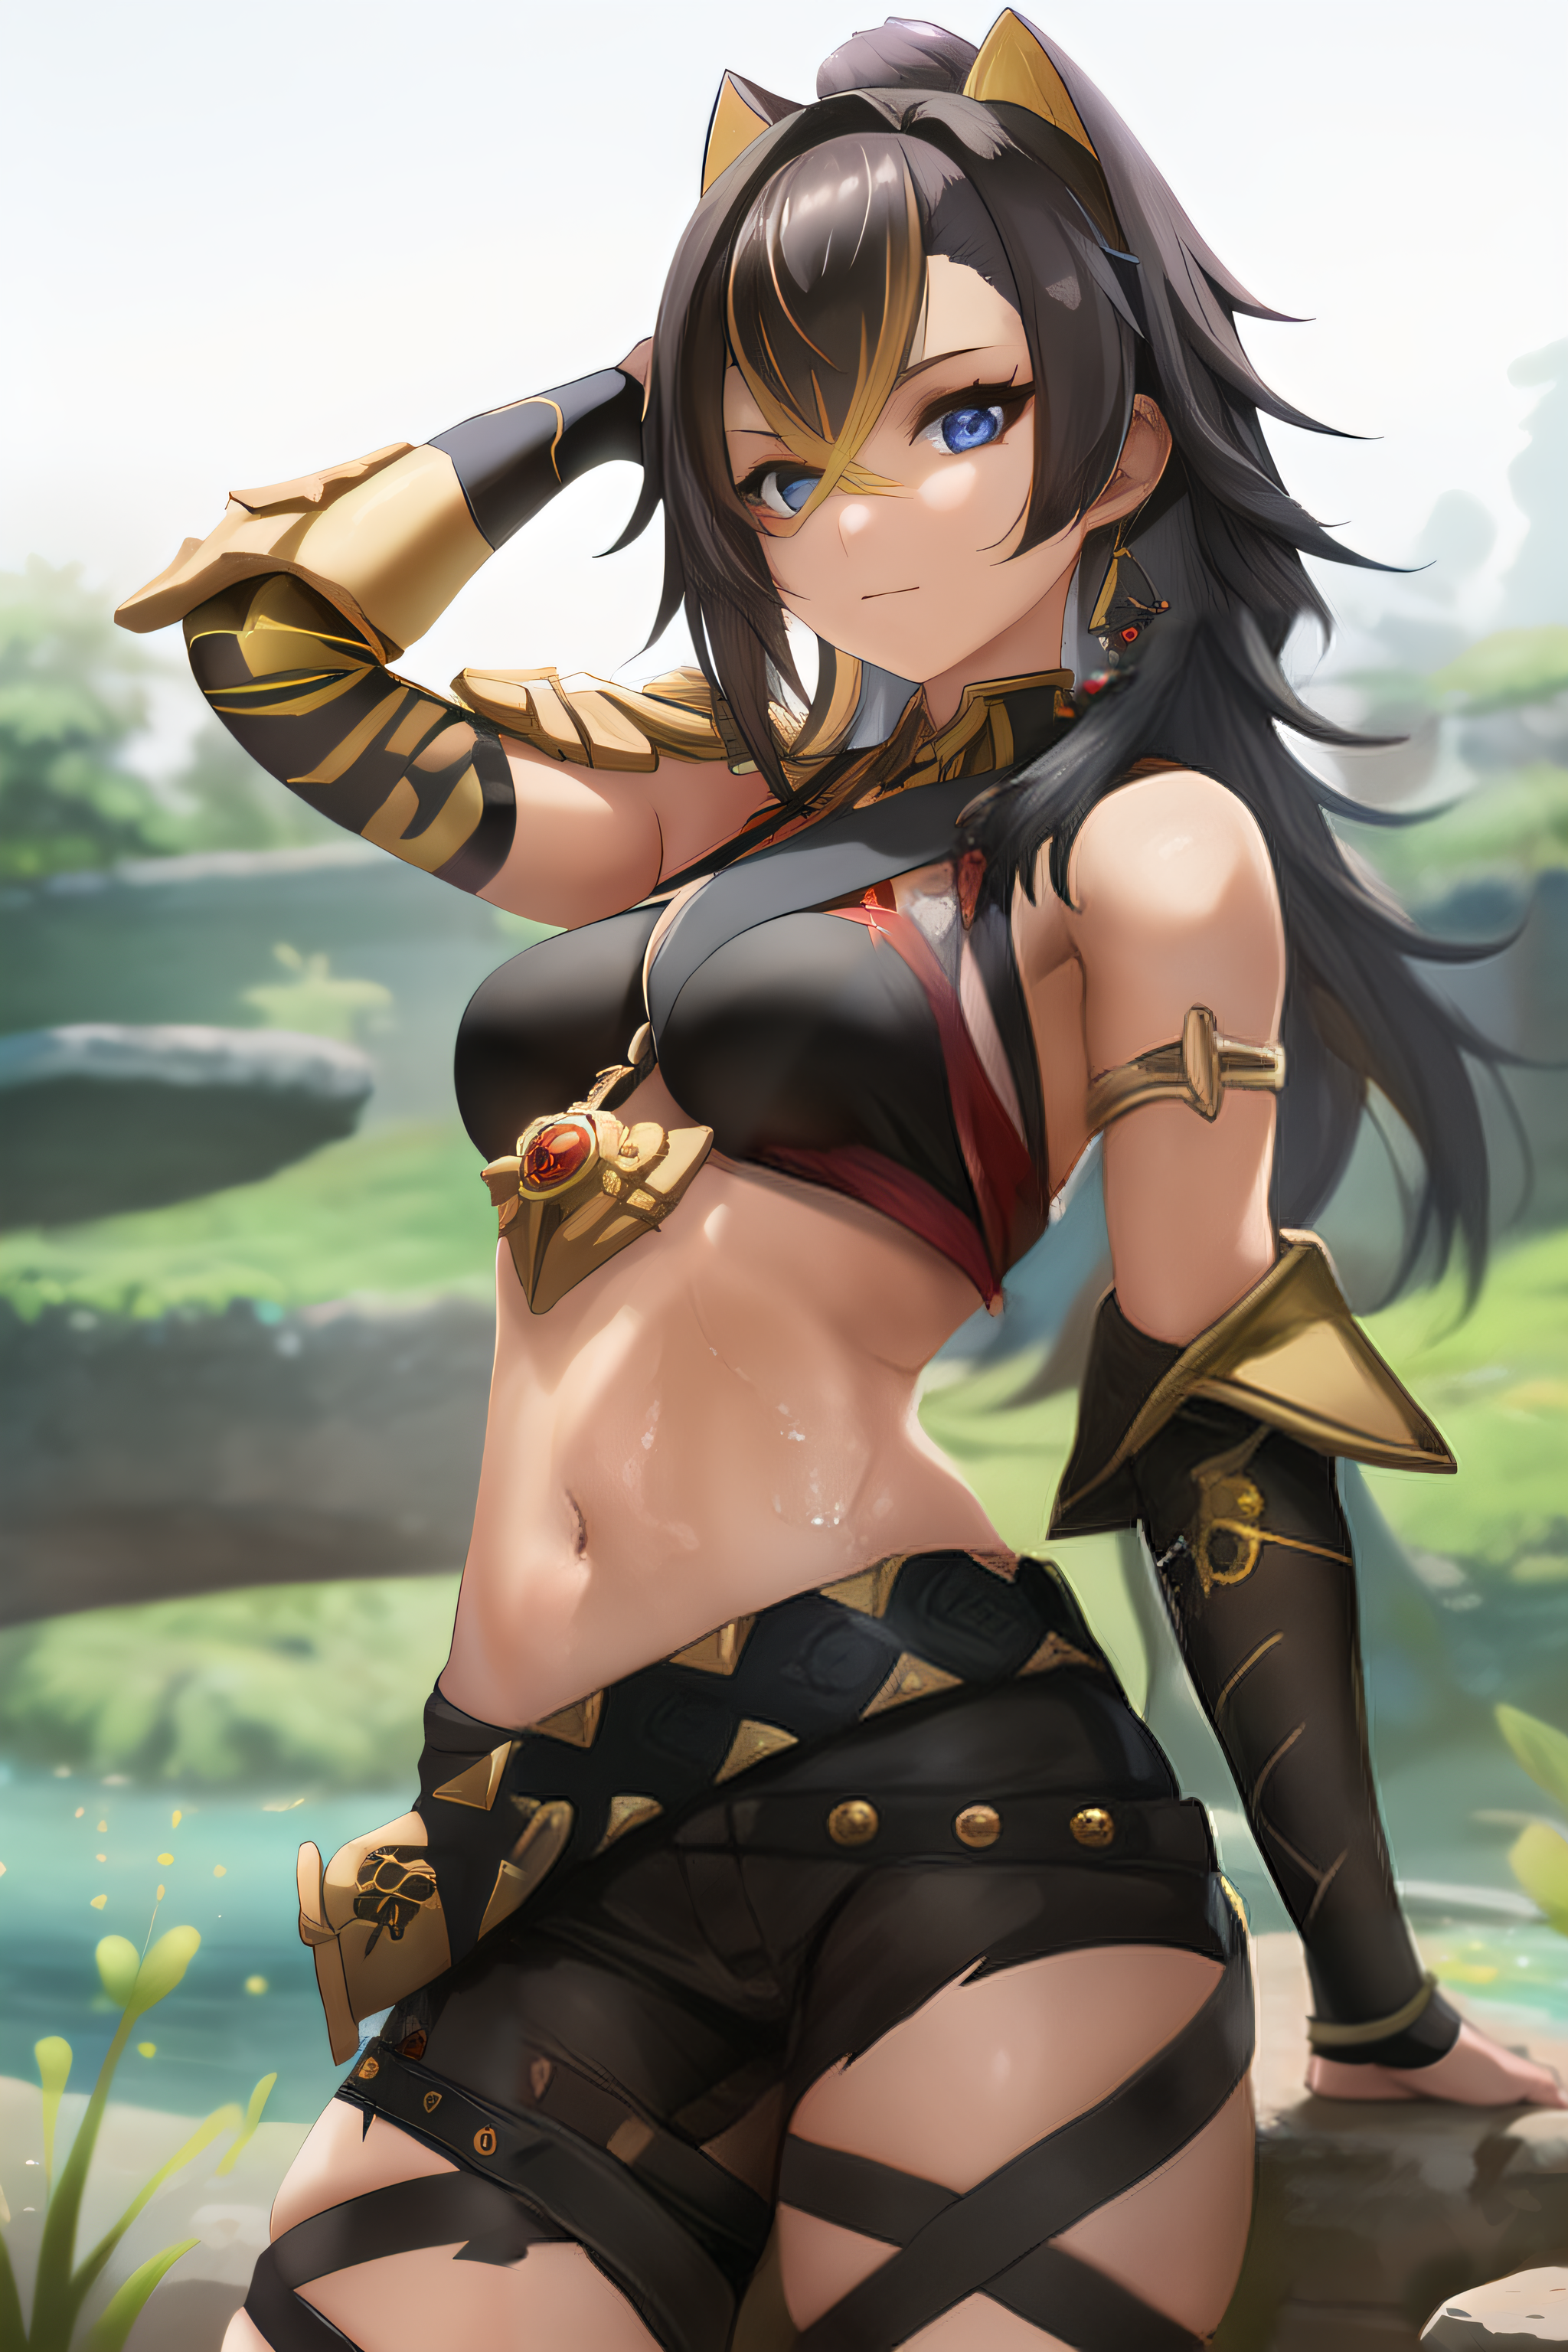
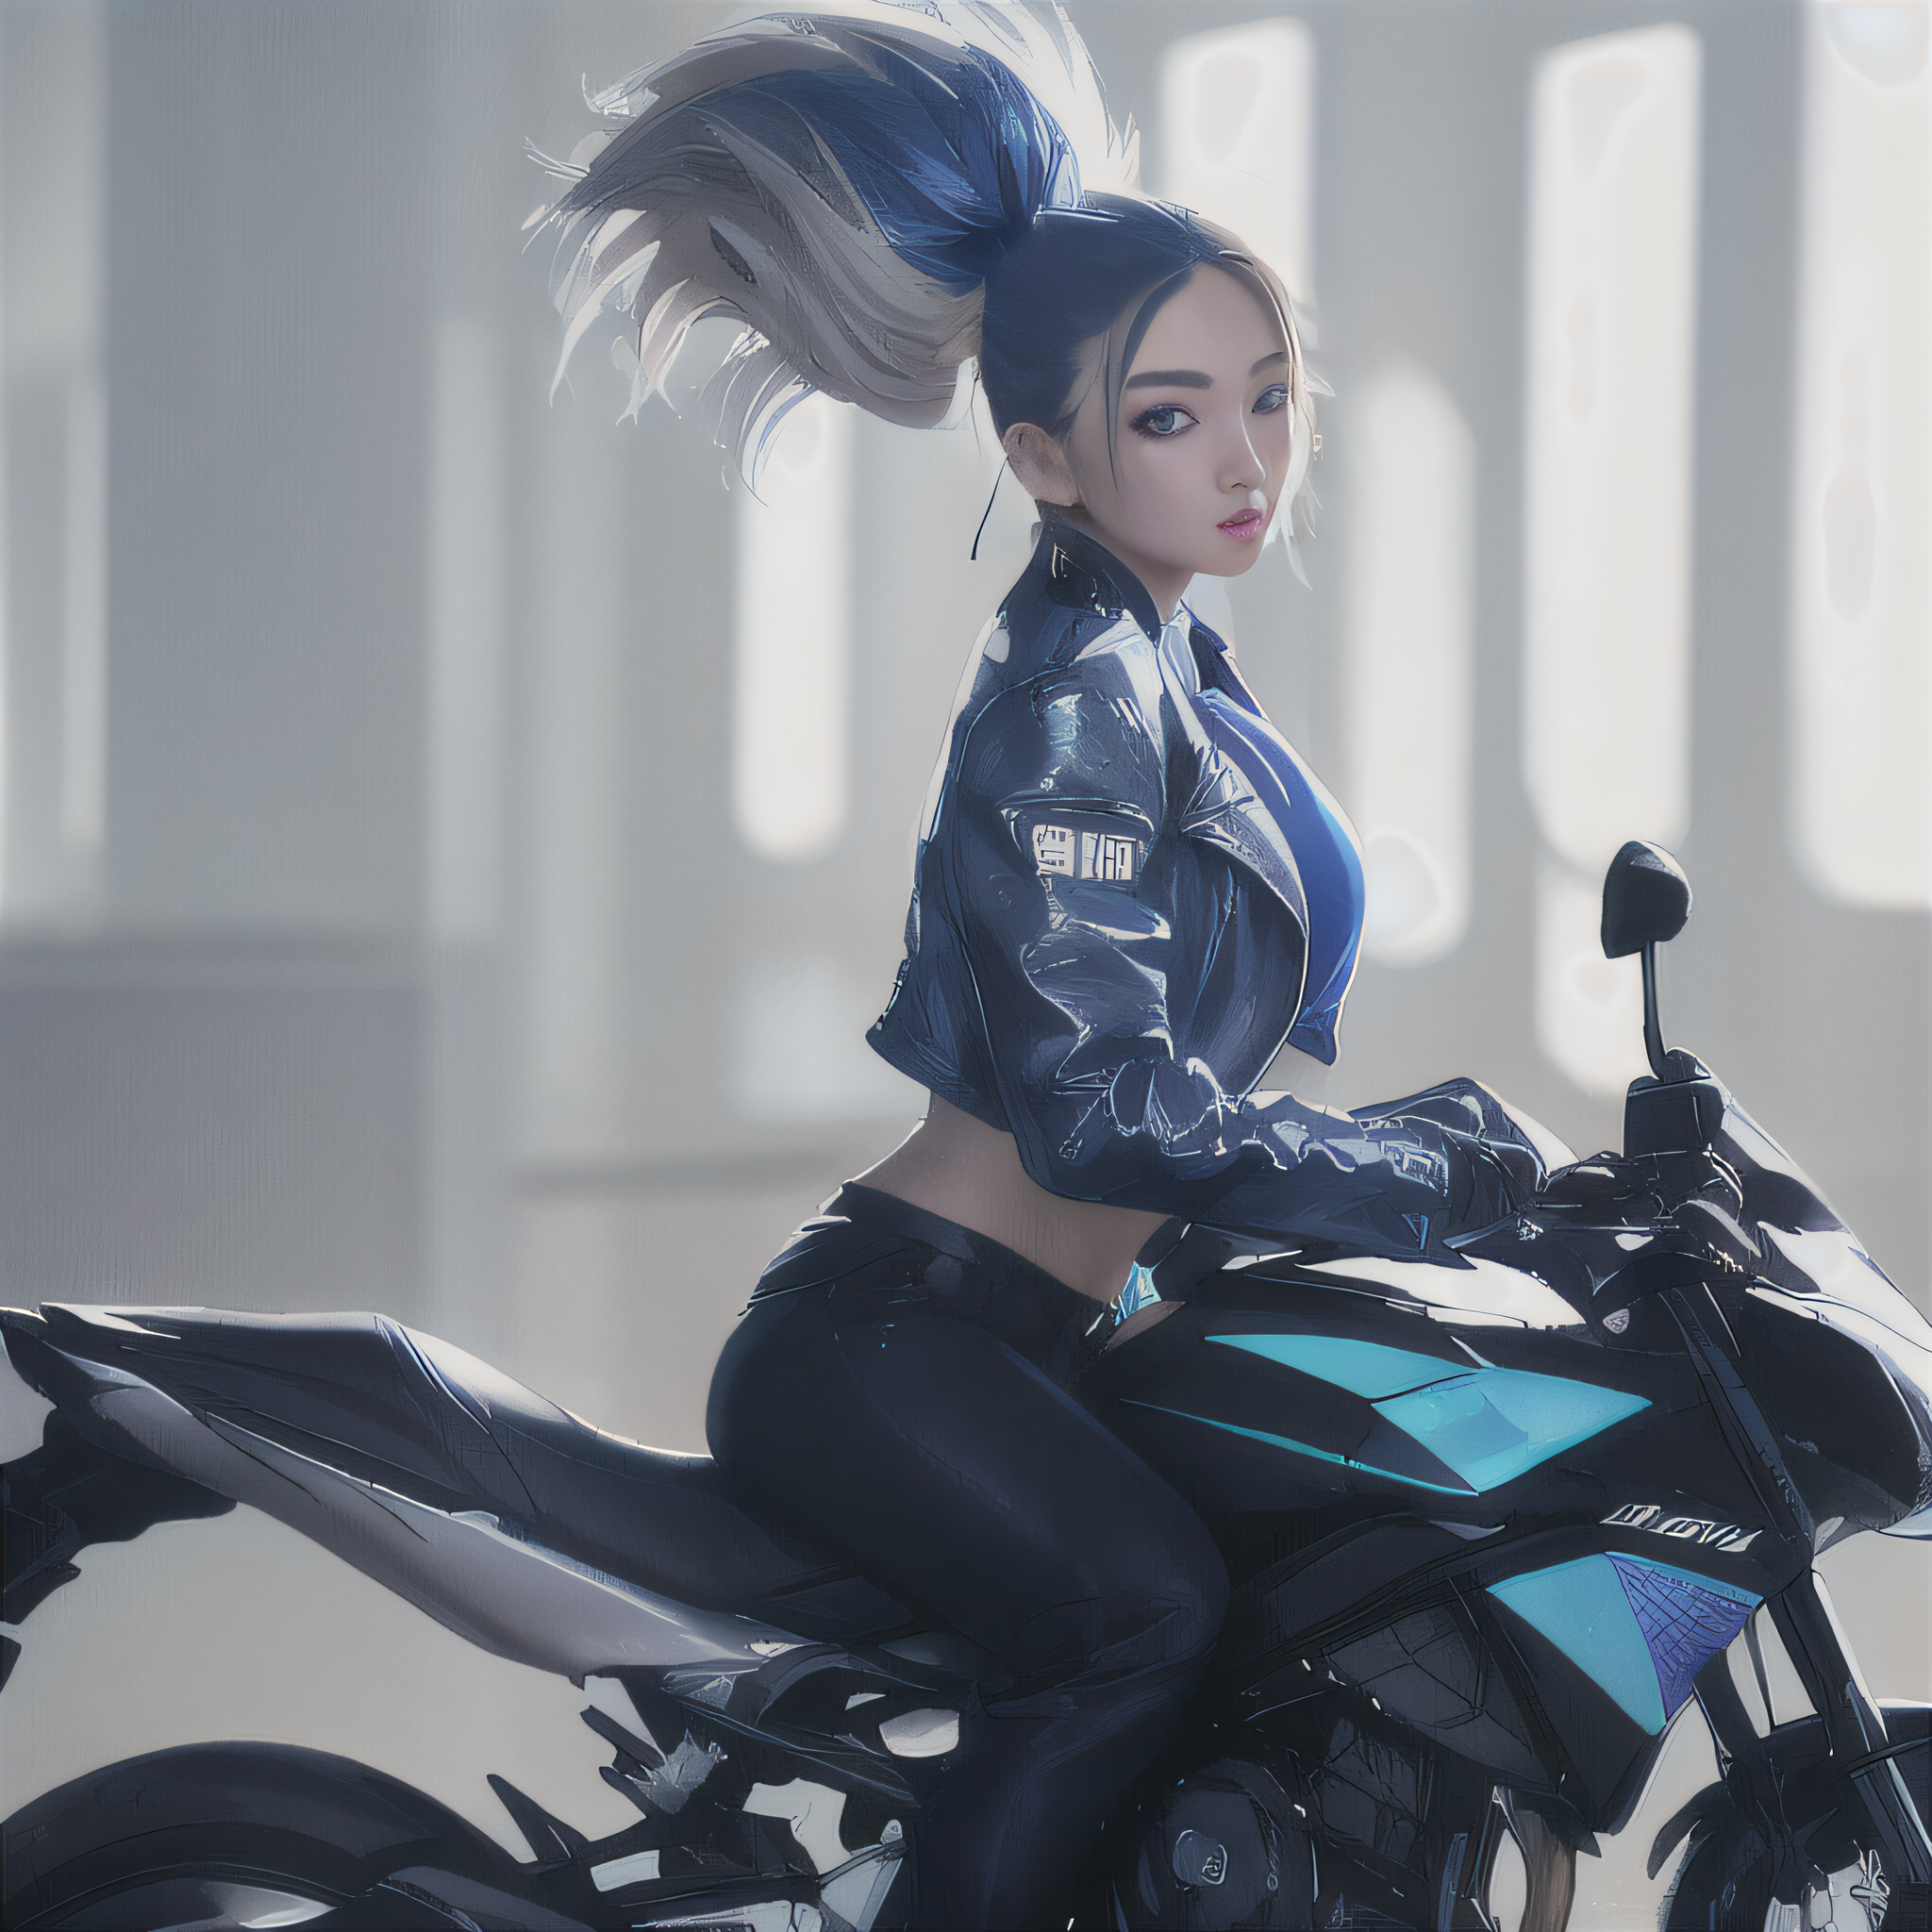
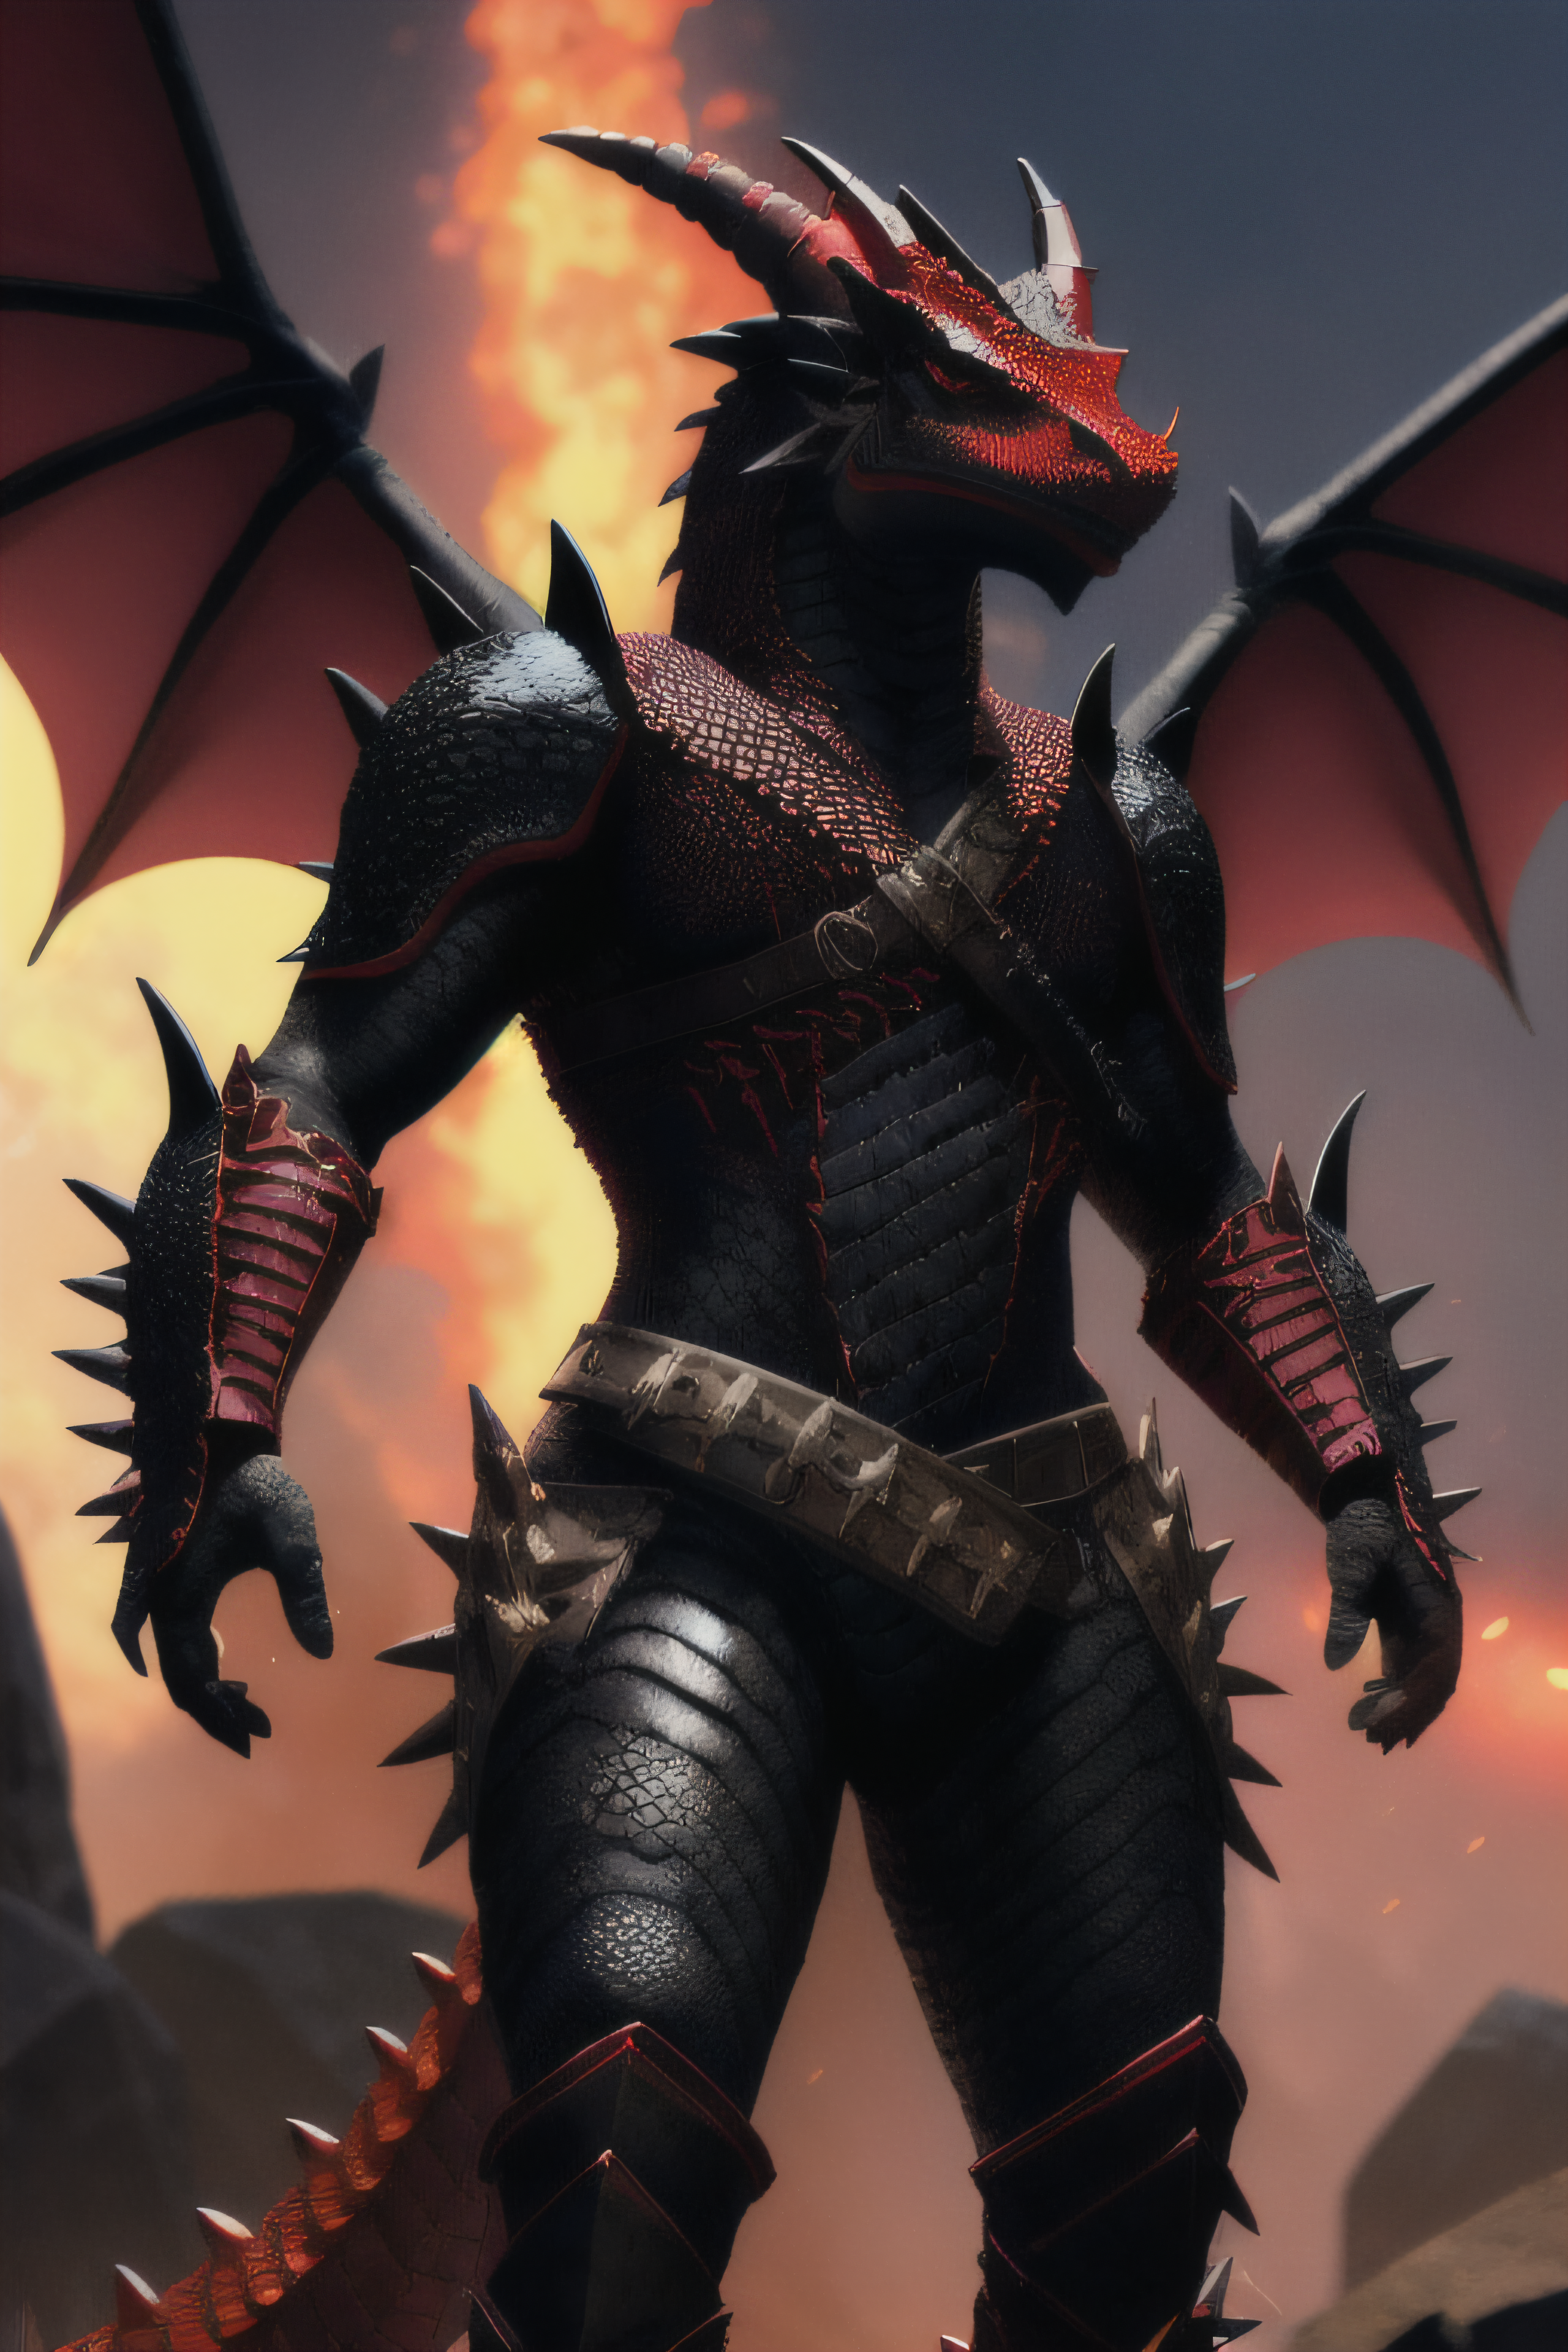
Some of those images have still some defaults in them. Let’s me explain what I tried and what I use now.
Easy Diffusion
As I have AMD GPU and on Windows, I tried to find a working repository of Stable Diffusion UI. I found Easy Diffusion that uses my CPU for rendering. I did have my fun with it but I tried to find quickly another solution because waiting 5 minutes per rendered image is a bit long.
Automatic1111 “fork” for AMD GPU
One of the popular UI is Automatic1111 one which have a fork (soon to be integrated into it ?) which has the possibility to use my AMD GPU for rendering.
My workflow
For positive prompt, depending on if I want, I use the keywords 4k, 8k and photorealistic with other positive parameters. For negative prompt, I always add as minimum (I think I can still improve it but work very well right now.) :
1

low res, bad anatomy, (low quality, worst quality:1.4), (monochrome:1.1), (lowres:1.1), disfigured, poorly drawn face, mutation, mutated
I generate a new image until I found something I like even if it has flaws. Sometimes it’s very quick, sometimes I need to add more into the prompt.
After that I send the image I like to extras then I use UltraSharp with x2 upscale to upscale the image a bit. And I send that upscaled image to inpainting so I can remove the flaws as much as possible.
When it’s done, I send it again to extra to upscale it for x2 (so x4 in final) and I get my final image.